Azure Data Factory Part 1
This is part 1 (of 3) of my blog series on the Azure Data Factory. You can find the other two parts here:
As part of a project I’m working on, I want to transfer blobs from an Azure Blob store into an Azure Data Lake store. I’ve done this once before, but since I (again) spent a day getting it to work as I wanted, I decided to write down the steps for next time. I don’t want to spend another day on a 15-minute task 🙂
This is called Part 1, since I’m also planning to document how to transform data, and see if I can find out how to move data instead of copying it (there is no move action in ADF).
Since my project also involves using USQL, I’m going to start by creating a Data Lake Analytics account. It contains a Data Lake store. If you already have a Data Lake store and a client id ready to go, you can skip Step 1 (Create a Data Lakes Analytics account) and Step 2 (Register App in AAD), and go directly to Step 3
These are the steps:
- Create a Data Lake Analytics account
- Register App in AAD
- Create an Azure Data Factory
- Linked services, Datasets and Pipelines
- Create linked services
- Create Datasets
- Create the pipeline
- Monitoring
Step 1: Create a Data Lake Analytics account.
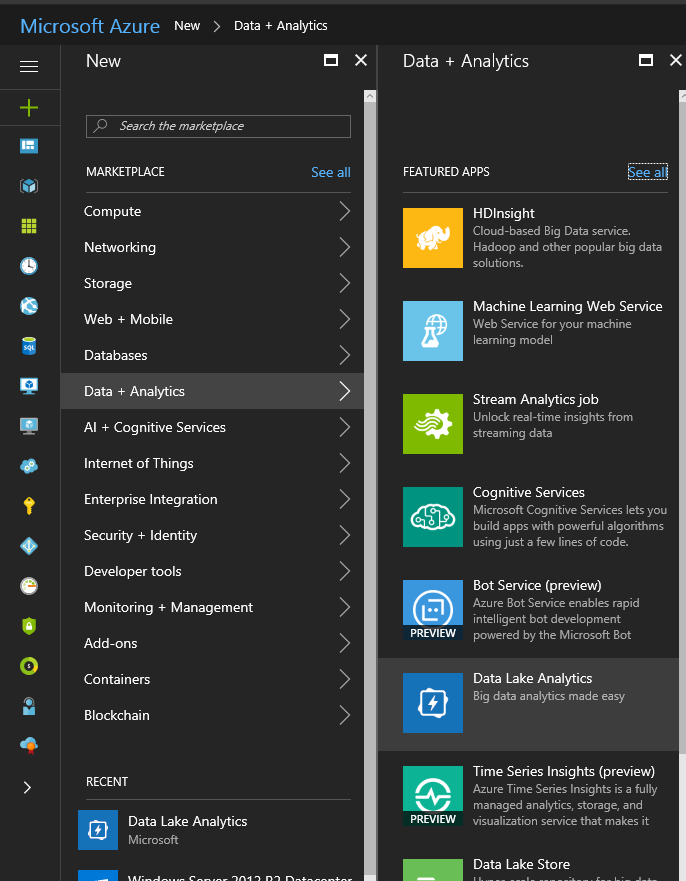
In the Azure Portal: New -> Data + Analytics -> Data Lake Analytics
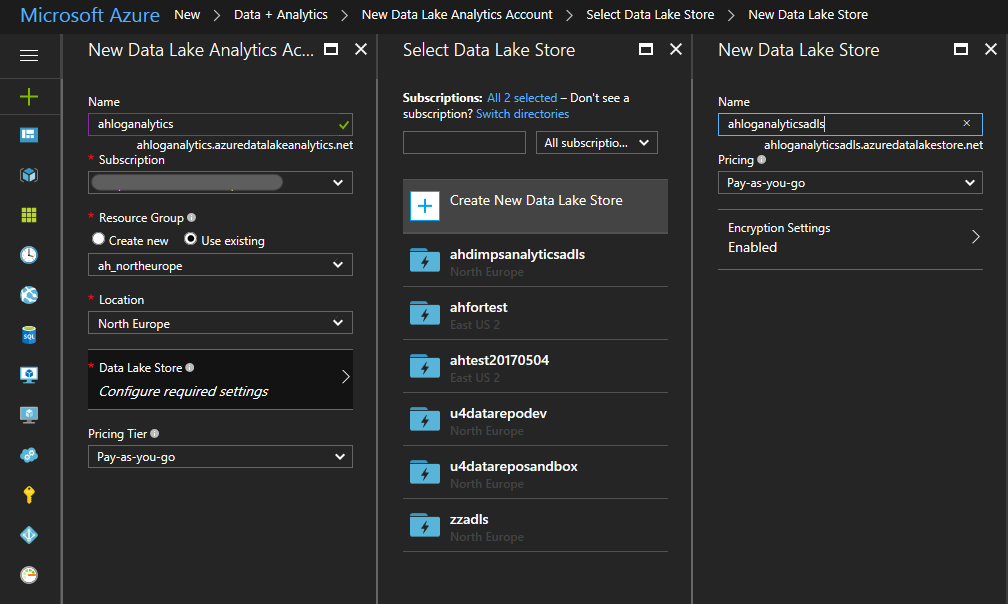
Then fill in the information. I already had a resource group I wanted to use (ah_northeurope), but I want a new Data Lake Store to be created (keep the suggested name):
Click OK then Create then wait... It can take upto a minute to deploy the new Data Lake Analytics account.
Step 2: Register App in AAD.
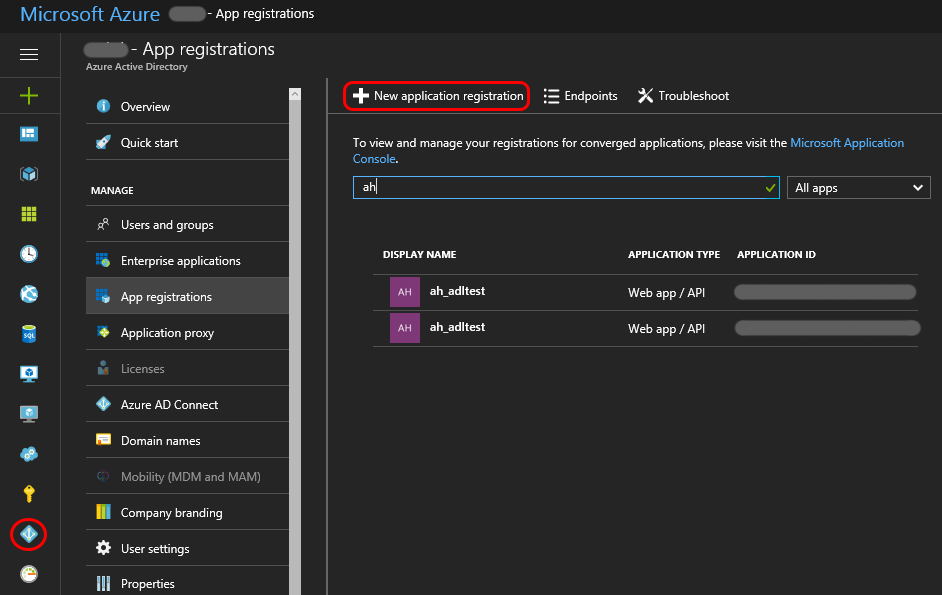
To connect to the Data Lake Store, we need to register an application in Azure Active Directory.
In the Azure portal: Click the Azure Active Directory icon -> App registration -> New application registration
Give your app a name and a “dummy” Sign-on URL
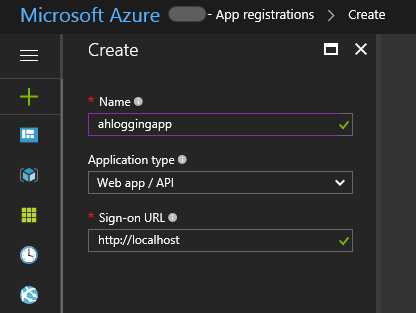
Click Create
On the newly created application. We need to create a key, so click on your app, then click on Keys. Give a description and click Save.
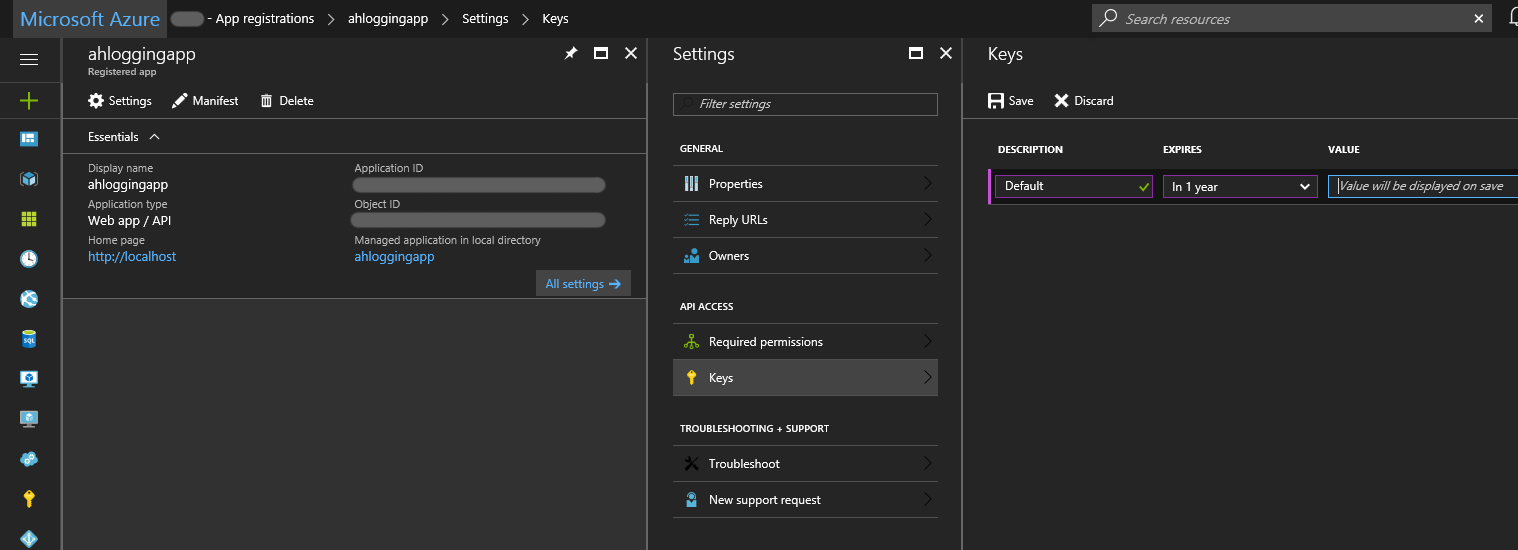
Remember the key values! You will need the key and the Application ID later
Find the Data Lake Store you created earlier (mine got the name ahloganalyticsadls). In the menu, click Access control (IAM), then click Add.
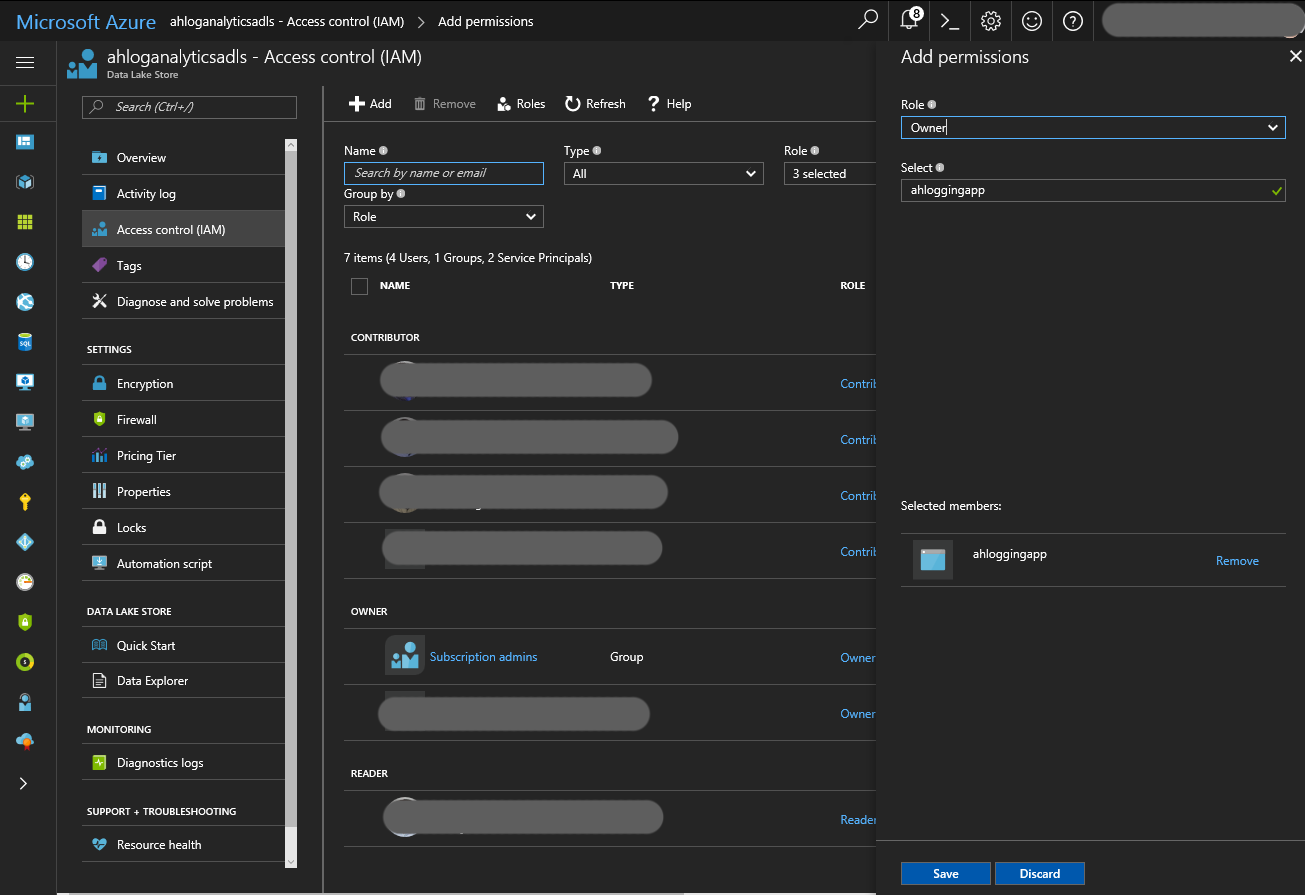
Select the AAD App you just created, set Role to Owner, and click Save
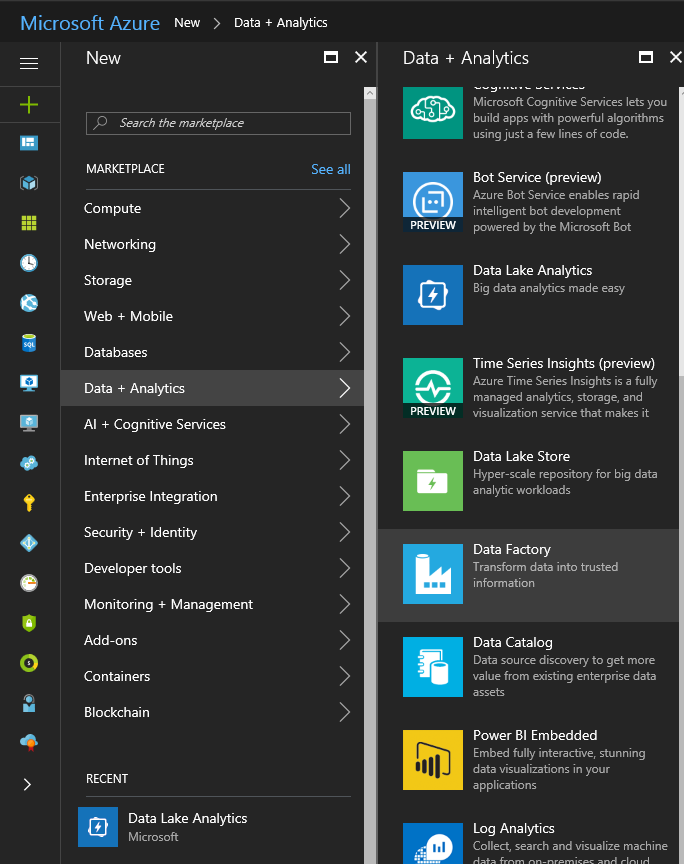
Step 3: Create an Azure Data Factory.
In the Azure portal: New -> Data + Analytics -> Data Factory
Then fill in your values
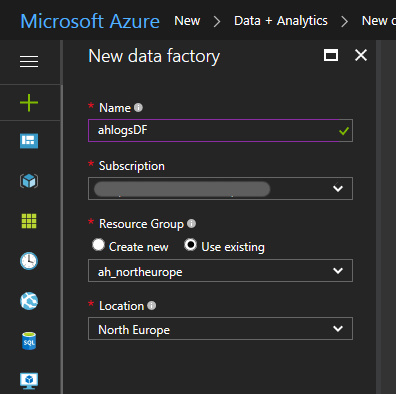
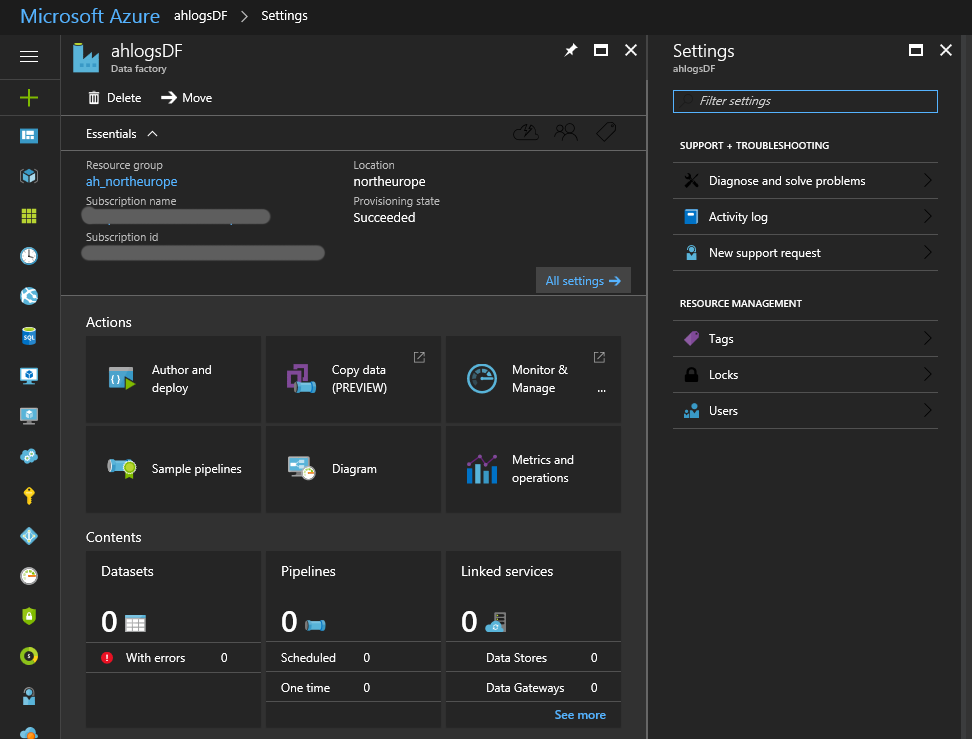
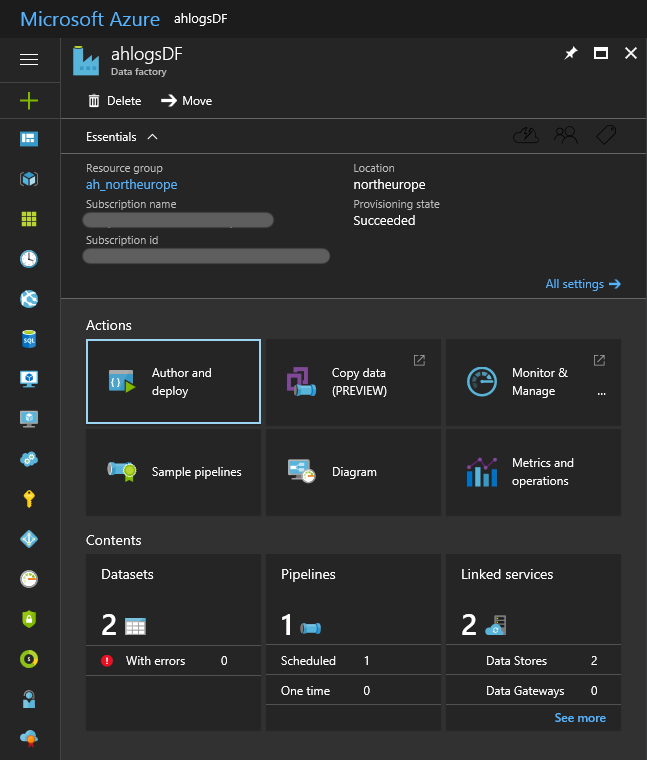
Click Create and wait… Deployment can take about a minute. Refresh your Azure dashboard and find your Data Factory. It should look something like this:
Step 4: Linked services, Datasets and Pipelines
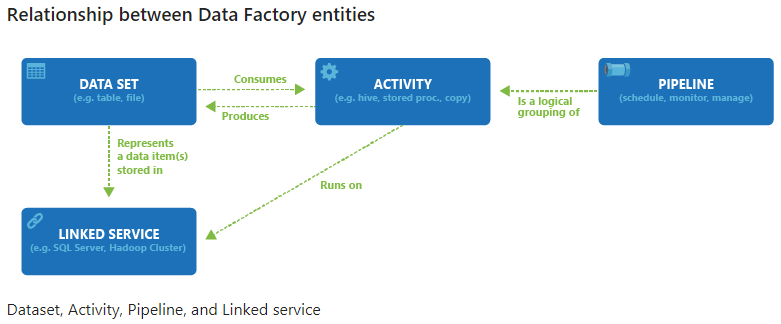
A Data Factory consists of:
- One or more Pipelines.
- In the pipeline, you either copy or transform data (you perform Activities).
- Both ends of the pipeline is connected to a Dataset
- A dataset is connected to a Linked Service
You can find an introduction to the Azure Data Factory here: https://docs.microsoft.com/en-us/azure/data-factory/data-factory-introduction.
I’ve stolen a picture from the link above:
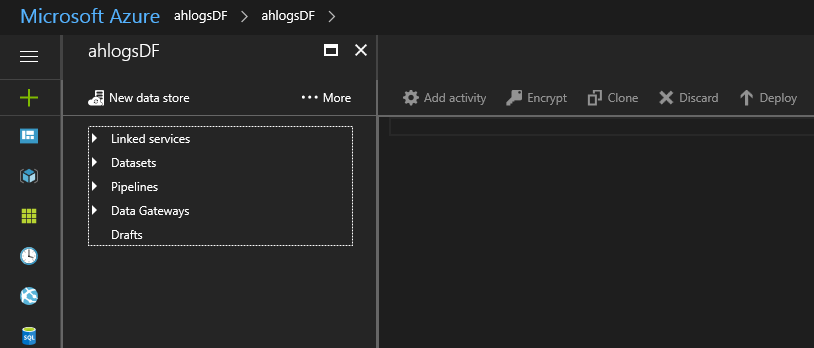
Under Actions, click Author and Deploy. You get into this blade:
We will do the following in order:
- Create linked services to blob storage and data lake store
- Create Datasets for input and output (to the pipeline). Think of a dataset as a “view” for the data.
- Create the pipeline
Step 4.1: Create linked services
The first thing we do, is create the linked services. We need two of them
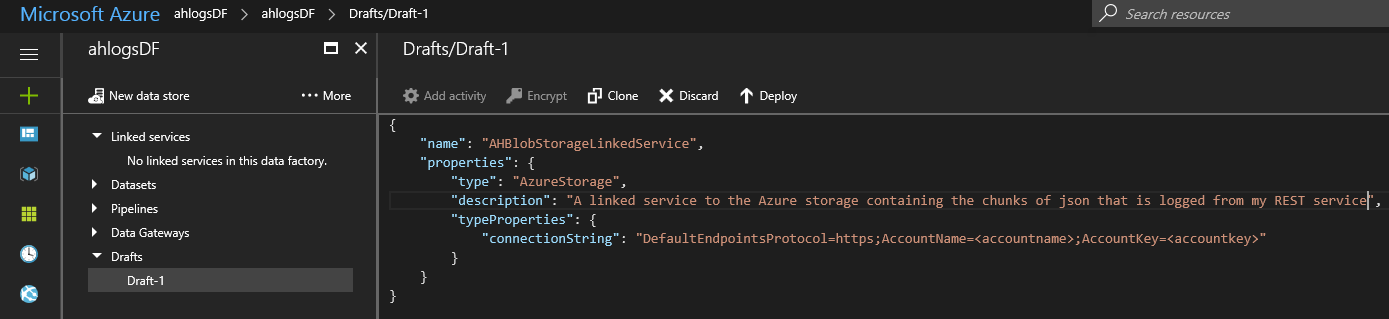
- A linked service to the Azure Blob store we want to copy the json from
- A linked service to the Azure Data Lake connected to the Azure Data Analytics account.
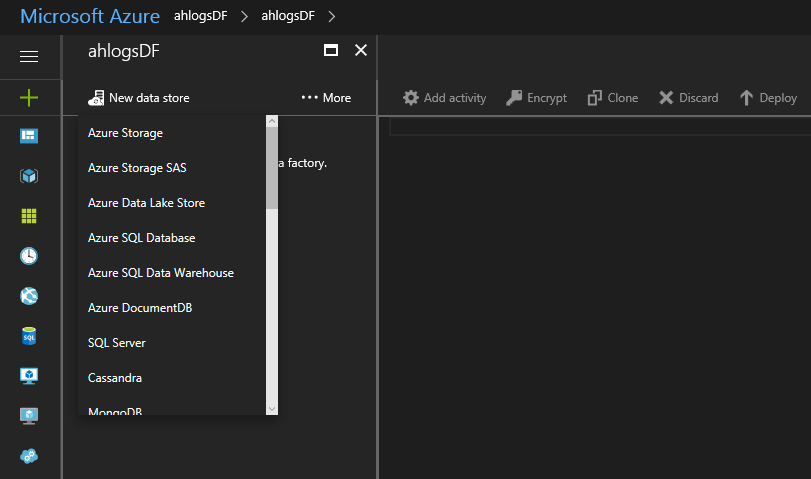
Click New data store and choose Azure storage
You can also use Azure Storage SAS. The difference is that with SAS, you can grant a client limited permissions to objects in your storage account for a specified period of time, without having to share your account access key. You can find more information here: https://docs.microsoft.com/en-us/azure/data-factory/data-factory-azure-blob-connector
Change the name and the connection string. Open your Storage account in the Azure Portal, and look under Settings -> Access keys for your connection string.
When you are done, click Deploy. Your linked service should move from Drafts to Linked Services in the menu. If you click on it, you see that the key is hidden, and it added a “hubName” element.
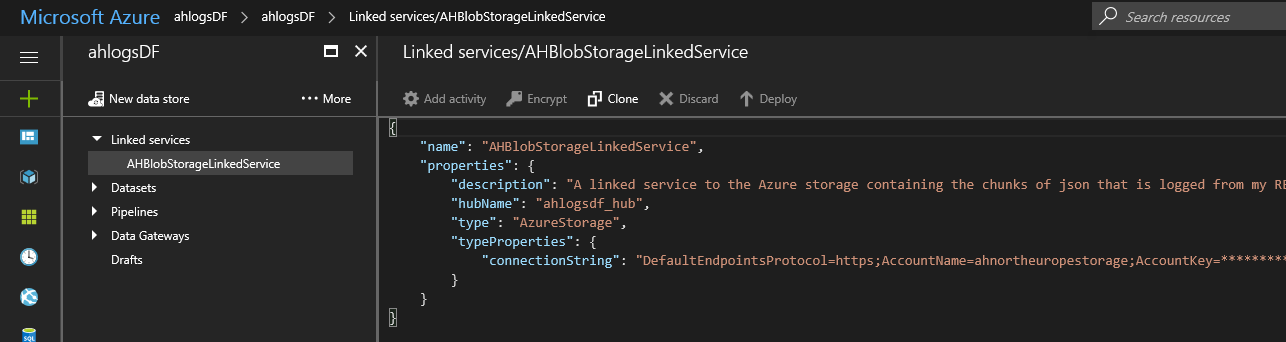
The hub name is important. A pipeline runs on a single “hub”, and all linked services and activities must have the same hub name.
Create another linked service, but this time, choose Azure Data Lake Store, instead of Azure Storage.
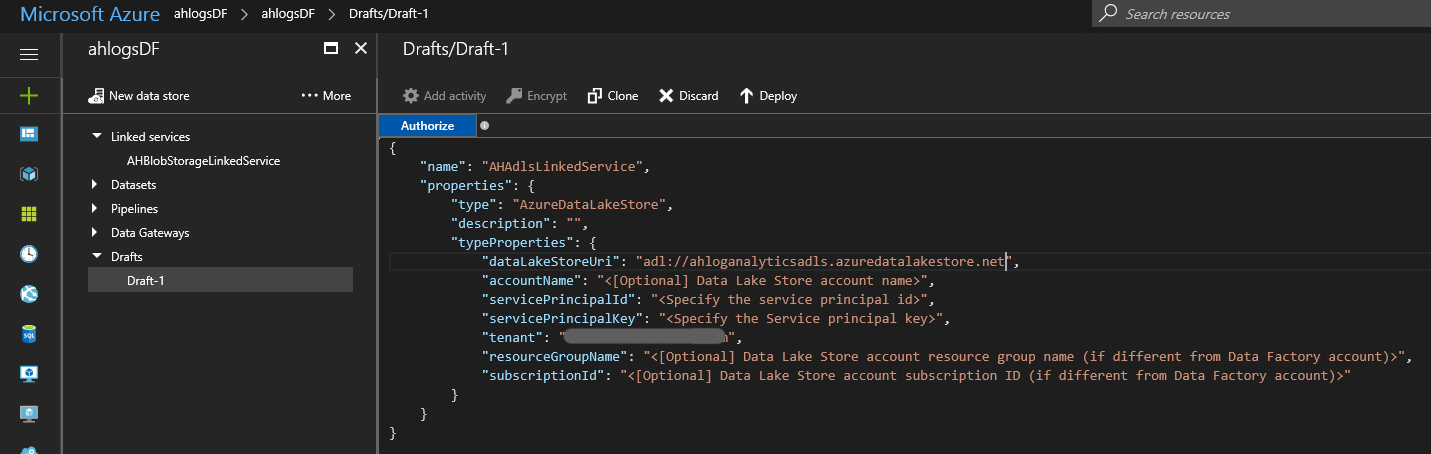
Since I’m using the same Azure account for everything, I can remove the optional fields. The servicePrincipalId and servicePrincipalKey is the Application Id and key value from Step 2.
Click Deploy
Step 4.2: Create Datasets
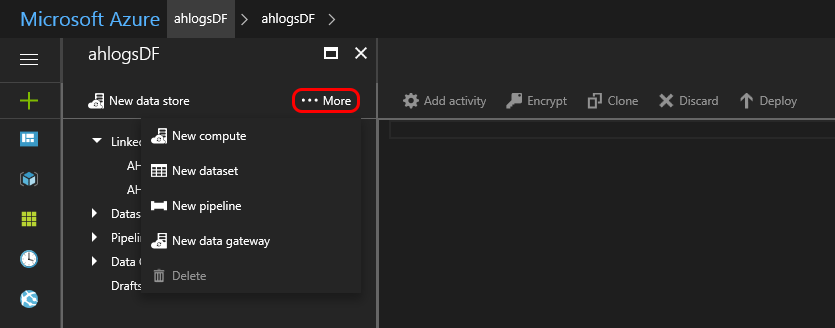
In the Author and Deploy blade, click the …More button, then New dataset -> Azure Blob storage
The json chunks are all stored in the root folder of a blob container called logdata. The data is not partitioned in any way. So, for the input dataset, change your json to look something like this:
{
    "name": "InputDataSet-LogBlobs",
    "properties": {
        "published": false,
        "type": "AzureBlob",
        "linkedServiceName": "AHBlobStorageLinkedService",
        "typeProperties": {
            "folderPath": "logdata/",
            "format": {
                "type": "JsonFormat"
            }
        },
        "availability": {
            "frequency": "Minute",
            "interval": 15
        },
        "external": true,
        "policy": {}
    }
}
There are availability settings on both the input and output datasets. There is also a scheduling setting on the pipeline. Scheduling and time-slices can be confusing, but there is a good explanation here: https://docs.microsoft.com/en-us/azure/data-factory/data-factory-scheduling-and-execution. For now, just keep all the availability and scheduling settings the same: Every 15 minutes (currently, that’s the smallest slice you can have)
The external setting informs the DataFactory that the data is external, and not produced by an activity in the DataFactory.
And now we create a dataset for the output.
Click …More -> New dataset -> Azure Data Lake Store
Change your json for this dataset, so it looks something like below. Notice that json for different days gets stored in different folders.
{
    "name": "DataLakeBlobs-DS",
    "properties": {
        "published": false,
        "type": "AzureDataLakeStore",
        "linkedServiceName": "AHAdlsLinkedService",
        "typeProperties": {
            "folderPath": "logs_as_json/{Year}/{Month}/{Day}",
            "format": {
                "type": "JsonFormat"
            },
            "partitionedBy": [
                {
                    "name": "Year",
                    "value": {
                        "type": "DateTime",
                        "date": "SliceStart",
                        "format": "yyyy"
                    }
                },
                {
                    "name": "Month",
                    "value": {
                        "type": "DateTime",
                        "date": "SliceStart",
                        "format": "MM"
                    }
                },
                {
                    "name": "Day",
                    "value": {
                        "type": "DateTime",
                        "date": "SliceStart",
                        "format": "dd"
                    }
                }
            ]
        },
        "availability": {
            "frequency": "Minute",
            "interval": 15
        }
    }
}
OBS: You can’t change the availability setting after the dataset is deployed
Step 4.3: Create the pipeline
In the Author and Deploy blade, click the …More button, then New pipeline
In the Drafts blade, click Add activity -> Copy activity
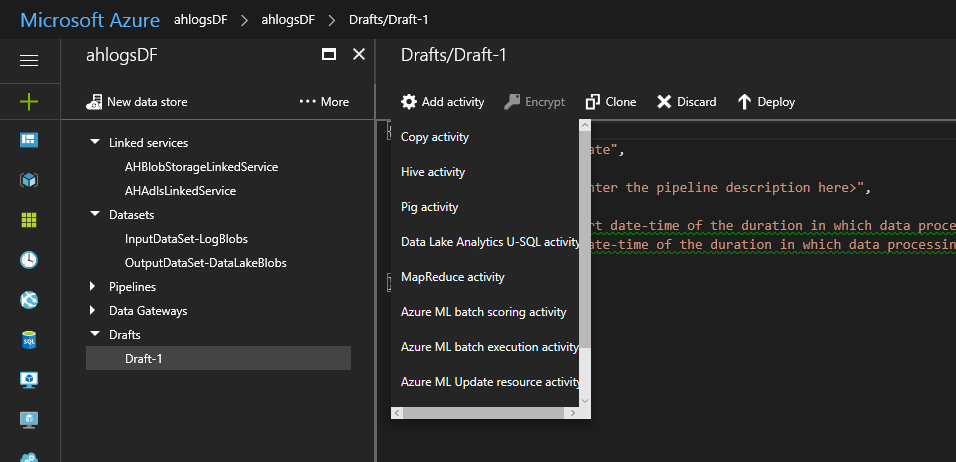
Change your json to look something like this:
{
    "name": "CopyJsonPipeline",
    "properties": {
        "description": "Copy logs in json format from a Blob store to a Data Lake store",
        "activities": [
            {
                "type": "Copy",
                "typeProperties": {
                    "source": {
                        "type": "BlobSource",
                        "recursive": true
                    },
                    "sink": {
                        "type": "AzureDataLakeStoreSink",
                        "copyBehavior": "PreserveHierarchy",
                        "writeBatchSize": 0,
                        "writeBatchTimeout": "00:00:00",
                        "sinkRetryCount": 0
                    }
                },
                "inputs": [
                    {
                        "name": "InputDataSet-LogBlobs"
                    }
                ],
                "outputs": [
                    {
                        "name": "DataLakeBlobs-DS"
                    }
                ],
                "policy": {
                    "retry": 0,
                    "timeout": "1.00:00:00",
                    "concurrency": 1
                },
                "name": "CopyFromBlobStoreToAdls"
            }
        ],
        "start": "2017-07-11T06:00:00Z",
        "end": "2017-07-12T00:00:00Z",
        "isPaused": false,
        "hubName": "ahlogsdf_hub",
        "pipelineMode": "Scheduled"
    }
}
Currently (as of July 2017) it’s the output dataset that drives the schedule, so we don’t set the scheduler setting for the pipeline. If you look at the json after deployment, you will see that it has automagically got the same settings as the output dataset. More on scheduling here: https://docs.microsoft.com/en-us/azure/data-factory/data-factory-scheduling-and-execution
OBS: The scheduler setting is retrieved from the output dataset, so it’s no point setting it.
Step 5: Monitoring
If you now go back to the main blade for your Data Factory, you should see 2 Datasets 1 Pipeline and 2 Linked services, and the Pipeline should be scheduled.
If you click Monitor & Manage, you should see something like this:

If you click on one of the lines in the activity windows, you get the overview (Activity Window Explorer, etc) to the right.
As you can see from the example above, some slices are ready and some are waiting. To understand what’s going on, you should read: https://docs.microsoft.com/en-us/azure/data-factory/data-factory-scheduling-and-execution
OBS:
If you don’t see anything in the activity windows, check the start and end values for the pipeline. Set the start date to yesterday and the end date to tomorrow. If you still don’t see anything, try a more frequent availability setting. Be aware that you can’t just change availability settings. You will have to clone, delete and deploy a new pipeline and dataset.
The DataFactory doesn’t delete from the source. The same blobs will copied again and again for every slice. I will write another blog post on how to do this (you have to create a custom activity).
I have just followed my own recipe, and it seems to work. Please comment if you find some errors.
PS: You can comment without registering, but it would be nice to have registered readers 🙂 You can register on the Home page, bottom right. Also, first time you comment, I will have to approve your comment before you see it (spam prevention).